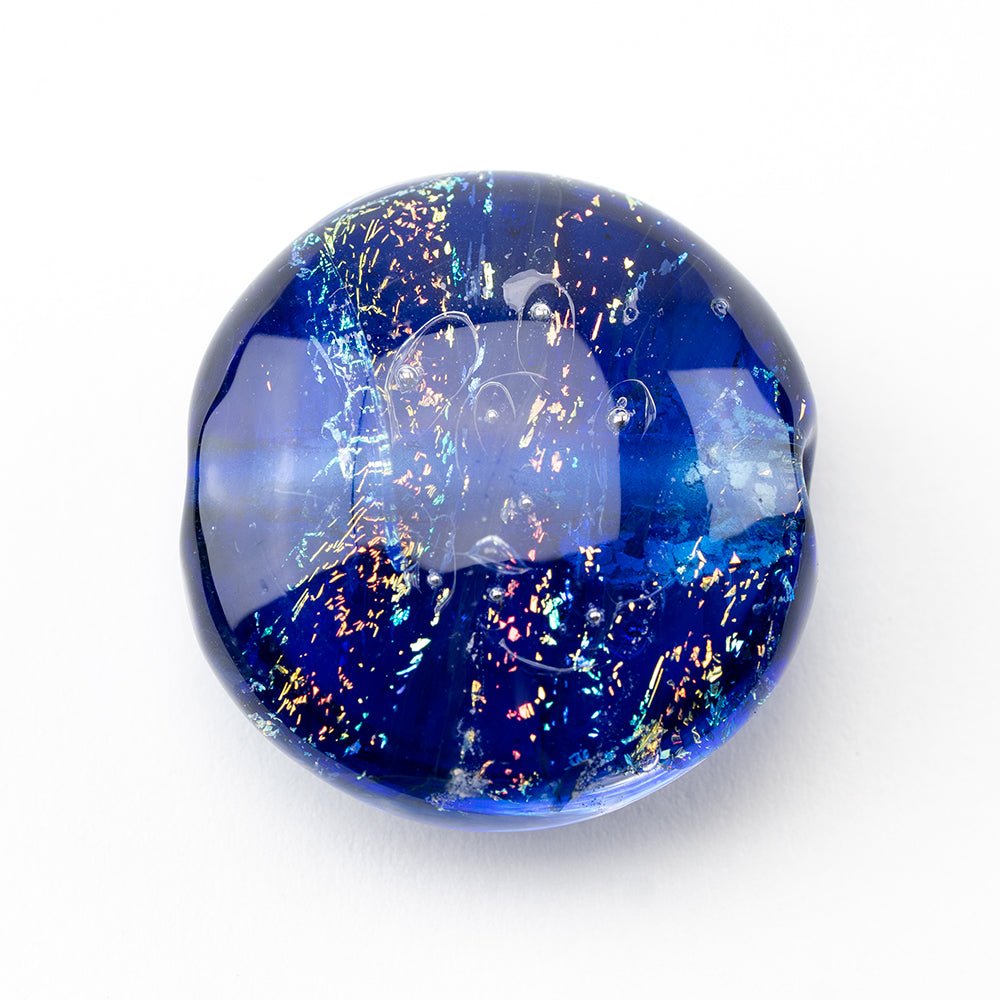
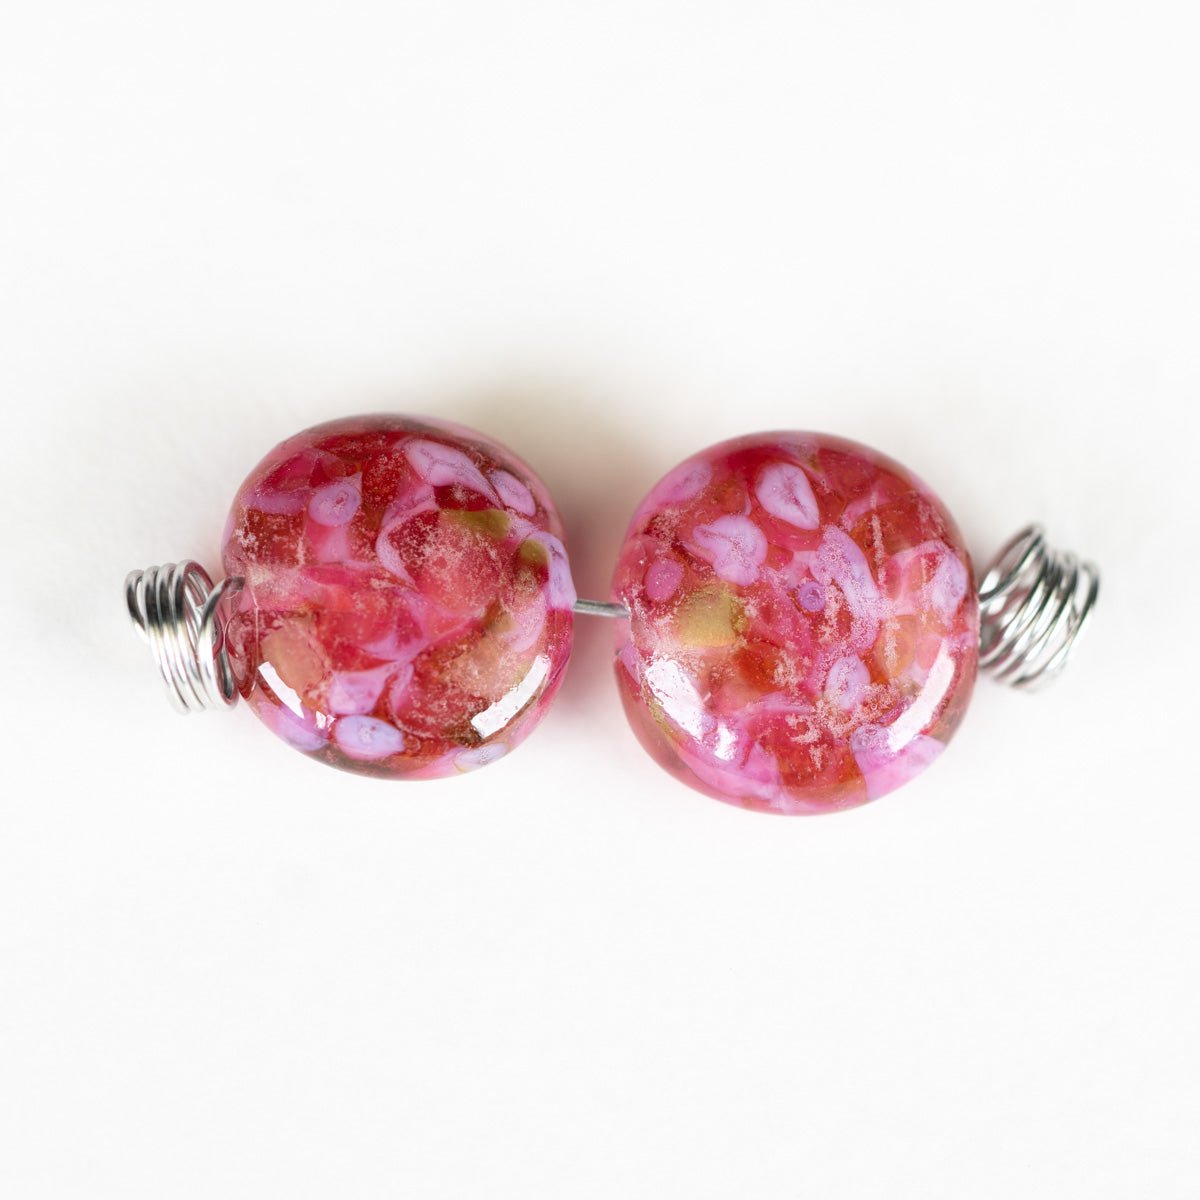
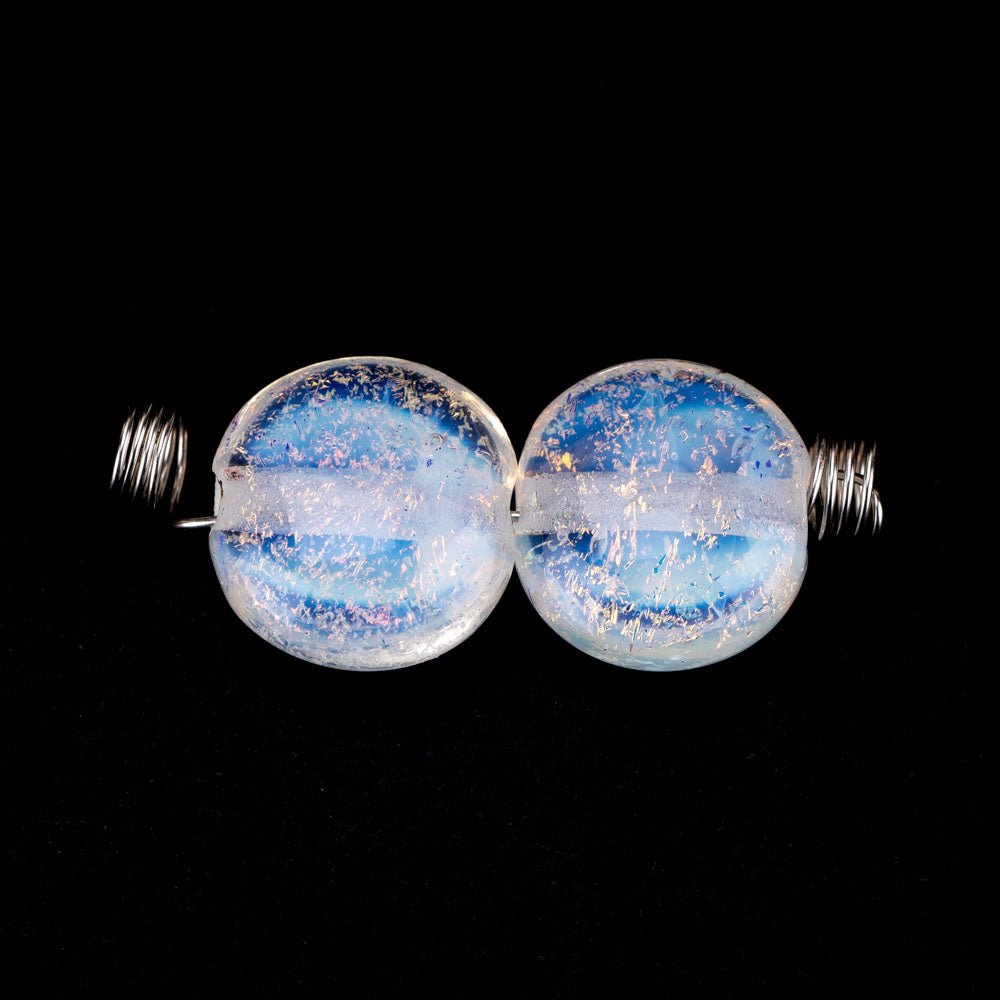
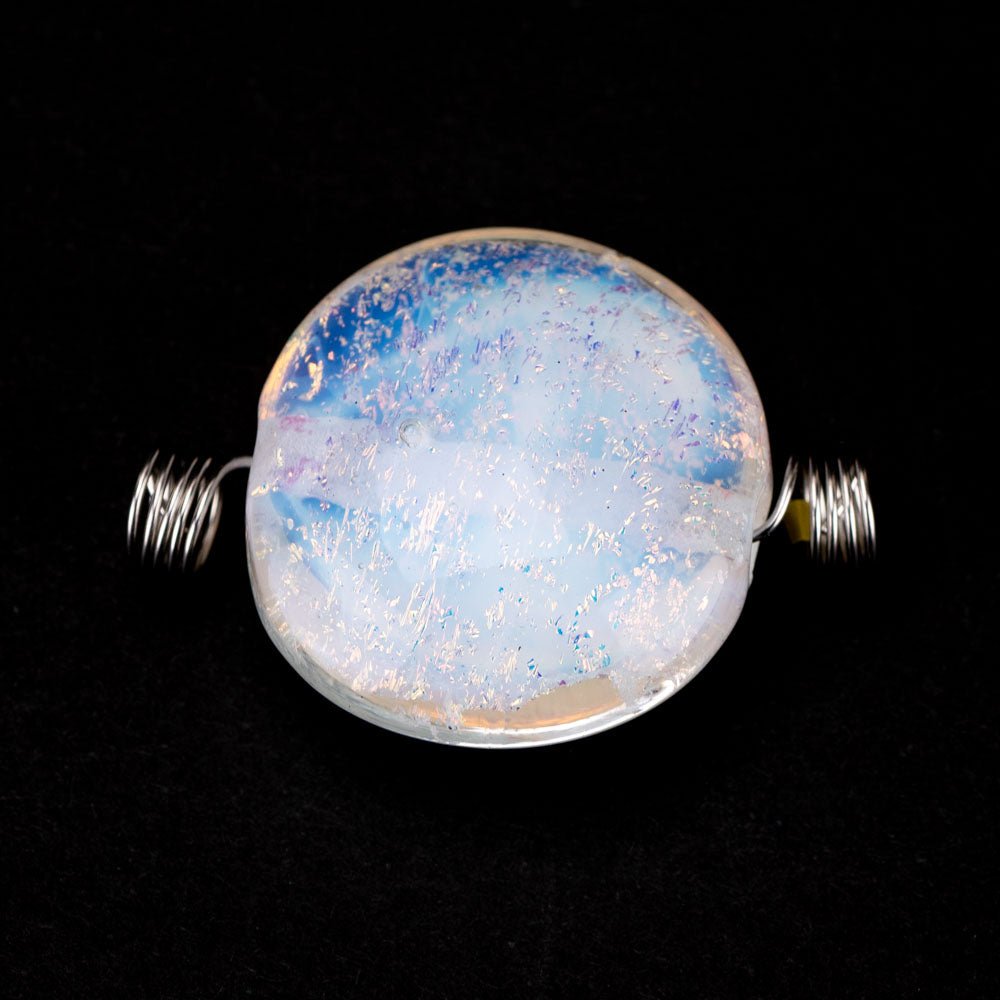
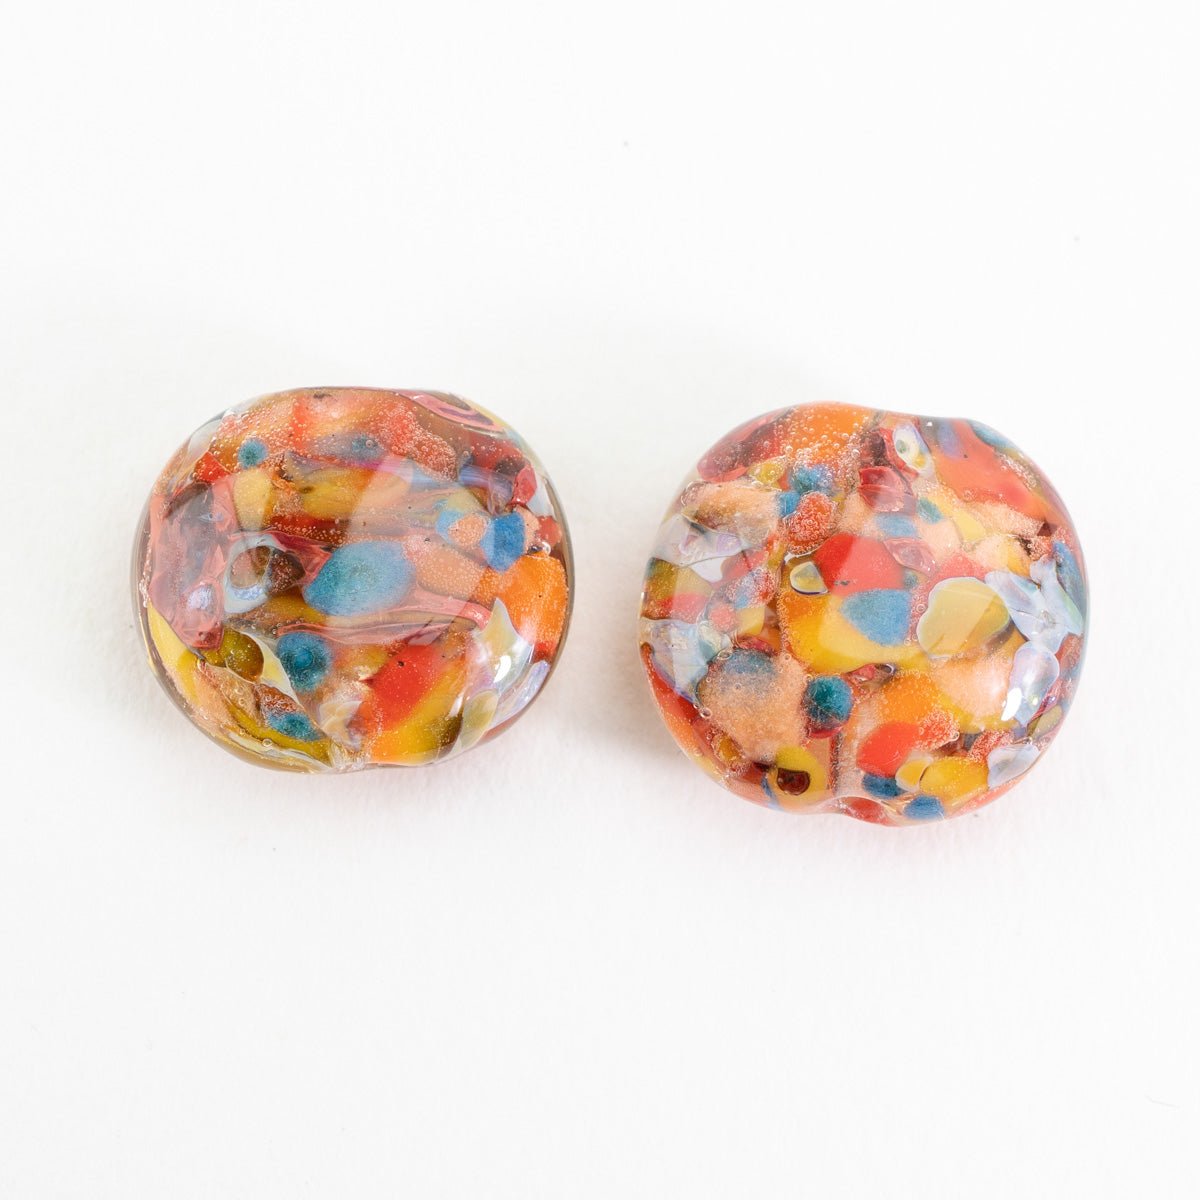
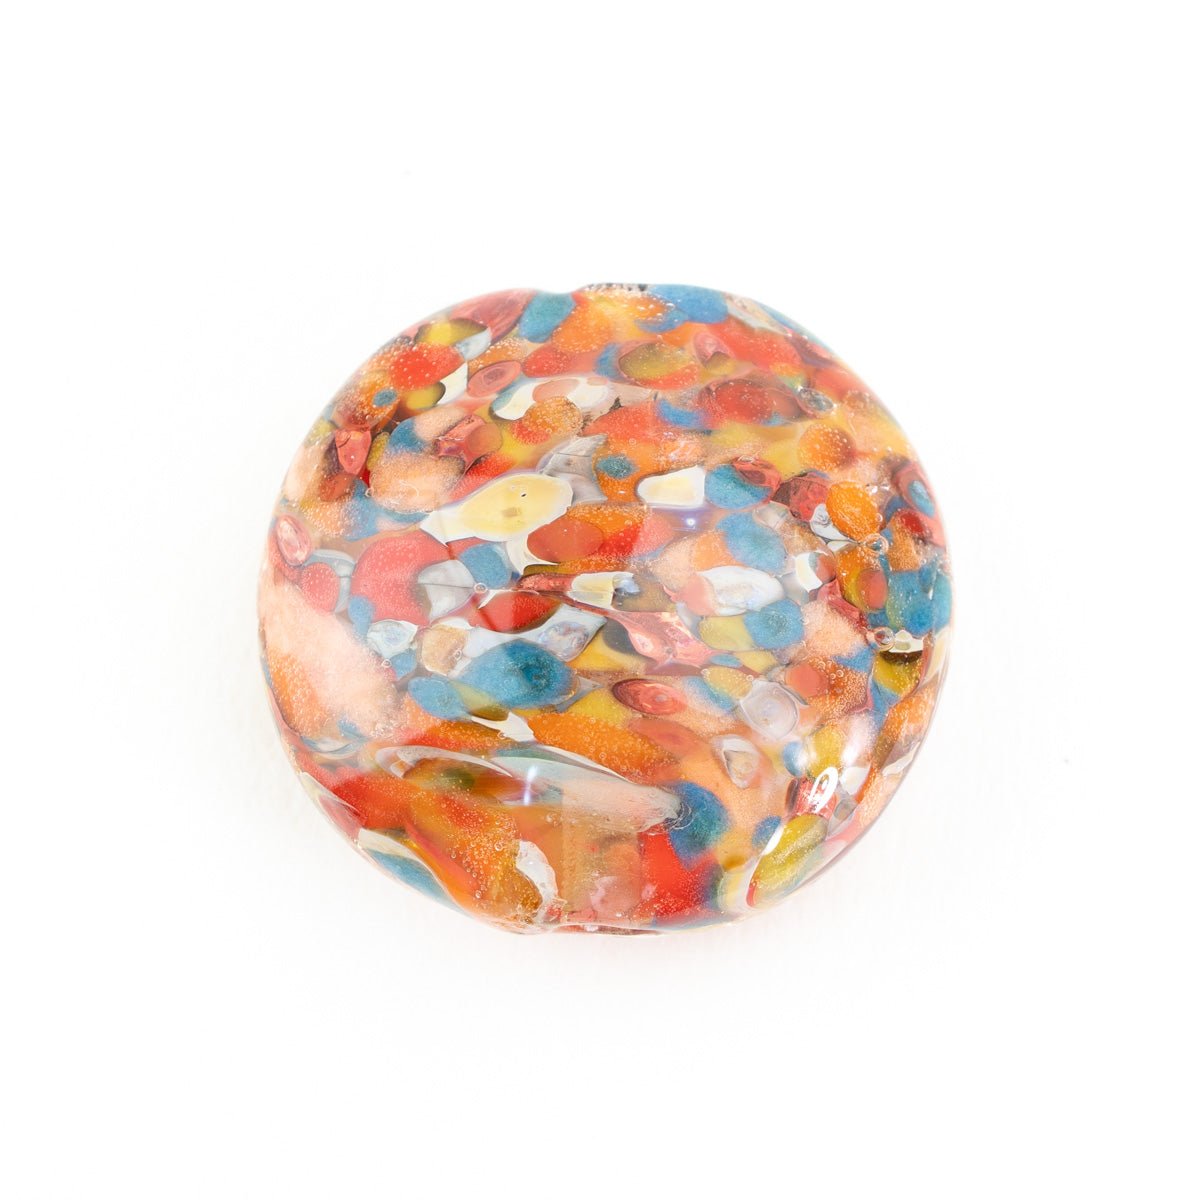
Unicorne Beads offers a variety of styles, from our popular teardrop beads and underrated banana beads to our brand new mini nobilis beads. However, in this blog, we'll be focusing on one of our most beloved styles: coin beads.
These beautiful beads are a must have for making your jewelry pieces shine. Join us as we take a closer look at some of our coin bead styles and explore the versatility and beauty of these rounded favorites.

Meet Our Coin Beads
Coin beads are one of those shapes that fit naturally into almost any design. Their flat, rounded profile makes them comfortable to wear and easy to combine with other beads.
Each of our coin bead styles (small and large) are perfect focal points for your designs. Handmade in Southern California, these beads are sure to bring personality to all of your jewelry crafting projects.
Lucky for you, we have DIY Jewelry Kits that perfectly showcase what makes our coin beads so special. The Teardrop Cluster Bracelets feature our Icy Blue, Pumpkin, Berry Blossom, and Costa Rica coin beads. These make a perfect gift for all bead lovers!
How To: Memory Wire Bracelets
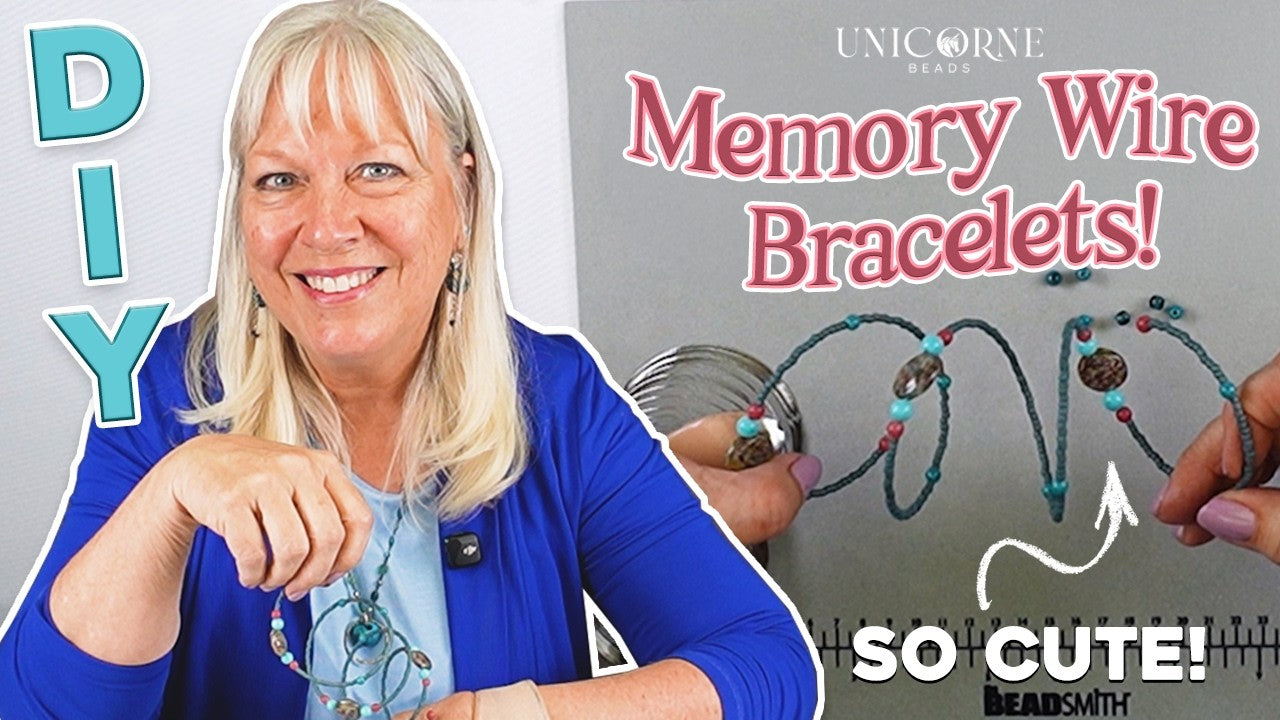
If you are looking for further inspiration, then you are in the right place! Unicorne Beads and the fabulous Kristal Wick have recently joined forces to show you how to create Memory Wire Bracelets! This creation is easy to make, has a playful design, and perfectly encapsulates what makes coin beads so special. Here is what you'll need for this project:
- Memory Wire
- Memory Wire Cutter
- Seed Beeds
- Unicorne Beads Coin Glass Beads (small or large)
- Unicorne Beads Small Round Beads
- Unicorne Beads Large Round Beads

Step 1: Pick Your Beads
In this tutorial, Kristal Wick uses Barbados for her coin bead, Lagoon Breeze for her small round beads, and Bluebell Mist for the large round beads. This combination is absolutely stunning and there is more where that came from! Here are a few more combo recommendations:
- Combination #1
- Coin Beads: Land & Sea
- Small Round Glass Beads: Enchanted Ivy
- Large Round Glass Beads: Seafoam Fog

Step 2: Cut Your Memory Wire
Now that you have your beads situated, it's time to get into your memory wire. When handling memory wire or any metal jewelry, please make sure to be weary of your eyes as these tools can have a mind of their own.
For a memory wire bracelet, we recommend cutting after four rounds. Also, when cutting memory wire, only use memory wire cutters. Using any other cutters can risk ruining your tools.

Step 3: Apply The Seed Beads
Before adding your seed beads to your memory wire, make sure to add a little loop at the end of your bracelets to avoid beads falling out on the other side.
Now, the fun begins! Add your preferred amount of seed beads to the bracelet before applying your round and coin beads. When it comes to spacing, we recommend either counting how many seed beeds you want for each part OR just using your trusty eyes!

Step 4: Apply Round & Coin Beads
Now, it's time to get your trio together. For this project, we recommend adding a small round bead, large round bead, a coin bead, and then continuing the round bead pattern on the other side of your focal, coin bead. If you end up using a different pattern, we would love to see it! Share it to use at sales@unicornebeads.com!

Step 5: Finish!
From here, you will repeat the seed bead, round bead, and coin bead pattern going for as long as you like, but we recommend 2-3 rounds. Just like that, you have yourself a Memory Wire Bracelets featuring the beloved coin beads!
If you are in need of any extra guidance with this project, don't fret! We have an 8 minute tutorial up on our brand NEW YouTube channel! Simply press the video down below and join Kristal Wick on an incredible DIY journey!